Guide
Installation Best Practice
Facial recognition accuracy depends on where and how cameras are installed. Use these general guidelines when planning every site.

General suggestions, not a guarantee. These guidelines describe good practice for facial recognition installs. Every site is different (lighting, distances, camera model and lens), so following them does not guarantee recognition results. Always confirm the camera model and placement with our technical team before purchasing or installing.
1. Site planning essentials
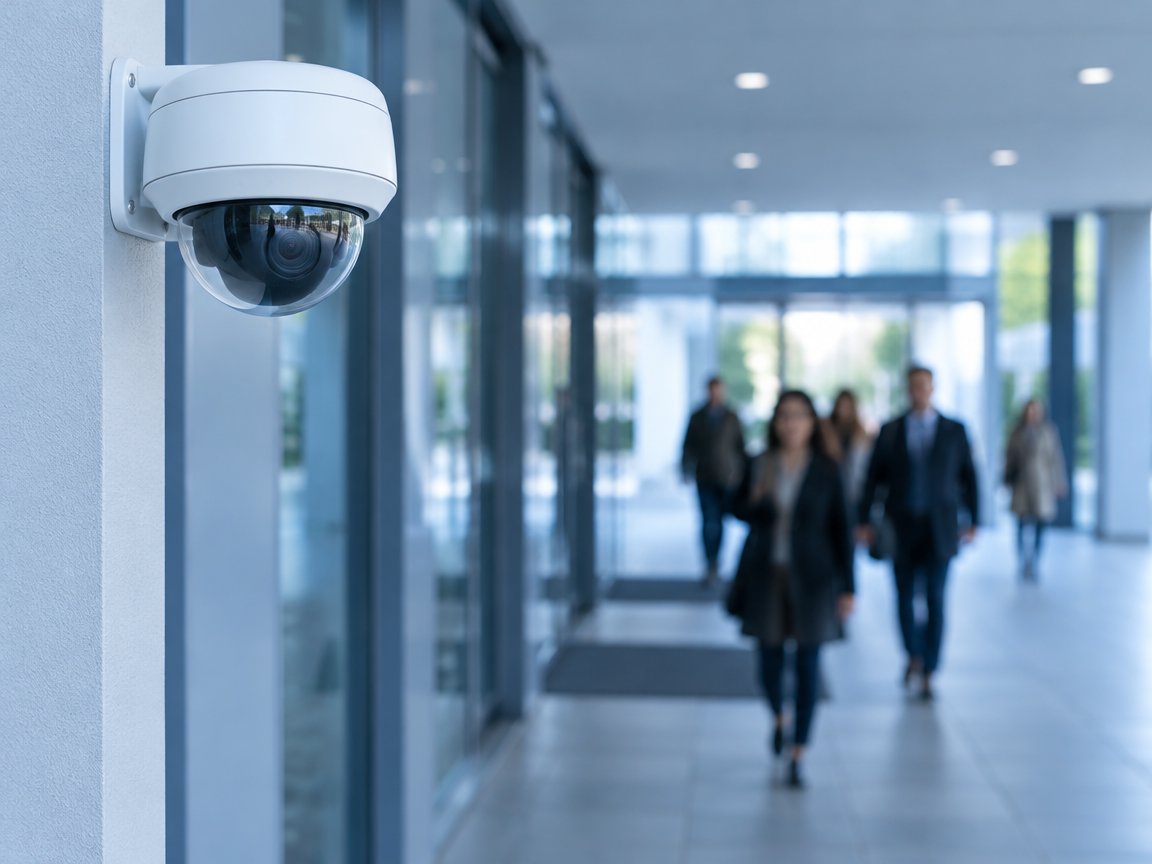
Mounting height
Mount cameras at roughly 2.2–2.8 m so faces are captured close to eye level, not from above.
Angle
Keep the vertical tilt under 15° and the horizontal angle under 30° to the walking direction.
Pinch points
Position cameras at doors, gates and turnstiles where people walk one at a time toward the lens.
Lighting
Avoid backlight from glass doors or sun. Add even front lighting; use WDR where needed.
Network
Provide a stable internet connection with sufficient upload bandwidth per camera.
Signage
Display “Facial Recognition in Operation” signage at every monitored entrance.
Plan your site
Installation plan wizard
Answer a few simple questions about your entrance. We calculate the camera specification, mounting height and aim, and suggest approved cameras with a step-by-step install plan.
Question 1 of 9
Where will the camera be installed?
Outdoor cameras need weatherproofing (IP66/67) and cope with sun, rain and dust.
Technical requirements
2. Camera set-up guidelines
Field of view
Mount the camera so the face and upper body of every person entering the monitored area appear in the image.
Vertical tilt: max 15°
Measured from the horizontal, at the centre of the face of an average-height person (170 cm). The higher the camera, the further back it must look: at 2.5 m height aim at faces about 3.4 m away; at 2.8 m, about 4.5 m away.
Horizontal angle: max 30°
The camera's view should be within 30° of the direction people walk, so it sees faces from the front, not the side.
Pixel density: min 500 pixels/m
Needed for identification. This is roughly a face width of 80 pixels in the image.
Exposure
Faces must be sharp (in focus), not blurred, and evenly lit: not over-exposed or too dark.
Lighting & WDR
For flare, very bright or dim conditions, choose cameras with hardware WDR (Wide Dynamic Range) or other backlight and low-light compensation.
3. Choosing a focal length
Pick a lens that gives at least 500 pixels/m at the distance where faces will be captured. Varifocal lenses make it easier to fine-tune on site.
| Lens | Max distance at 1920×1080 | Max distance at 1280×720 |
|---|---|---|
| 2.8 mm | 2.0 m | 1.3 m |
| 4 mm | 2.9 m | 1.9 m |
| 6 mm | 4.3 m | 2.9 m |
| 8 mm | 5.8 m | 3.8 m |
| 12 mm | 8.7 m | 5.8 m |
| 32 mm | 23.3 m | 15.5 m |
Approximate distance at which a face still reaches 500 pixels/m, based on a typical 1/2.8" sensor. Higher-resolution streams (e.g. 4MP) reach further. Always check with the manufacturer's lens calculator.
4. Software installation on the camera
Once the camera has been purchased and is on site, FaceCamAlert gives the installer the manufacturer-approved FaceCamAlert software package to install on the camera's Embedded Open Platform (DHOP on Dahua, HEOP on Hikvision).
Only approved camera models can run it. Use the Camera Compatibility Check before buying.
Contact us
Need help planning a site or choosing a camera? Our team is here to help.